


Before you started
I assume you have basic knowledge of C# programming language and the basics of dotnet MVC application.
What is MinIO?
MinIO is a high-performance, distributed object storage system. It is open-source software under GNU 3.0 license. MinIO is AWS S3 compatible but mainly used in a private cloud. MinIO provides a lot of benefits to developers and system engineers. Some of them are given below:
High availability
Data redundancy
Native Kubernetes support
Horizontal and vertical scaling
Two-factor data encryption
Detailed performance monitoring
IAM framework that offers more flexible access configuration
Notifications about downloading and uploading data in a queue
Installing MinIO In Windows
For this particular demo, I am using the windows 11 operating System. To install minio we have to download minio.exe first. So, let's browse minio official website, and then click the download button on the very first landing page. Then will see different options for different platforms like windows, mac, linux, docker, Kubernetes, etc. I am using windows that is why I click the windows option. After that, I will download the minio.exe file from there.
Now, open the command prompt and move to the directory where you downloaded minio.exe. Then execute it using the command given below:
minio.exe server D:\minio --console-address :9090
The above command tells minio to start the server and save the uploaded file in D:\minio directory. Now you will see the result shown in the image below:
MinIO Object Storage Server
Copyright: 2015-2023 MinIO, Inc.
License: GNU AGPLv3 <https://www.gnu.org/licenses/agpl-3.0.html>
Version: RELEASE.2023-01-12T02-06-16Z (go1.19.4 windows/amd64)

Status:         1 Online, 0 Offline.
API: http://192.168.137.220:9000  http://172.27.112.1:9000  http://127.0.0.1:9000
RootUser: minioadmin
RootPass: minioadmin
Console: http://192.168.137.220:9090 http://172.27.112.1:9090 http://127.0.0.1:9090
RootUser: minioadmin
RootPass: minioadmin

Command-line: https://min.io/docs/minio/linux/reference/minio-mc.html#quickstart
   $ mc.exe alias set myminio http://192.168.137.220:9000 minioadmin minioadmin

Documentation: https://min.io/docs/minio/linux/index.html
Warning: The standard parity is set to 0. This can lead to data loss.

+---------------------------------------------------------------+
| You are running an older version of MinIO released 1 week ago |
| Update: Run `mc admin update`                                 |
+---------------------------------------------------------------+
Open browser and enter localhost:9090 in the url. Then you will see the minio login pages.
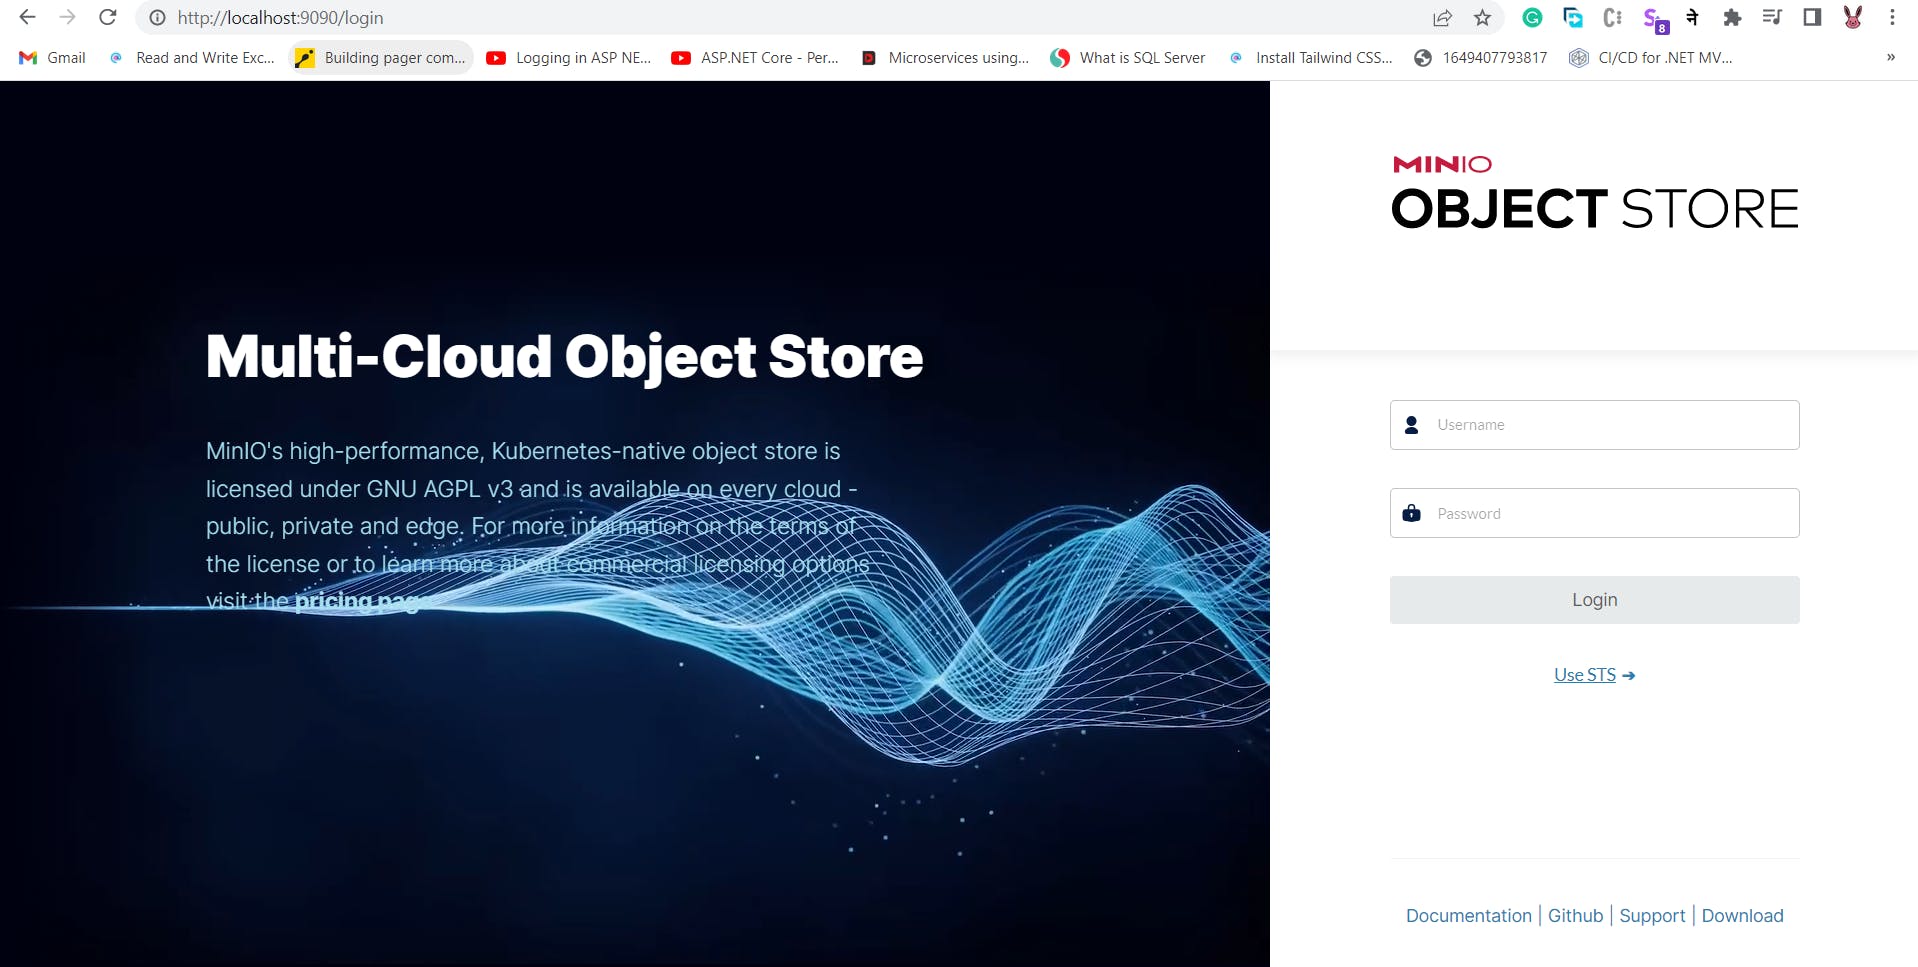
Enter the username and password that you can find in the command prompt. In my case username = minioadmin and password = minioadmin.
Then you will see the minio dashboard as shown below:
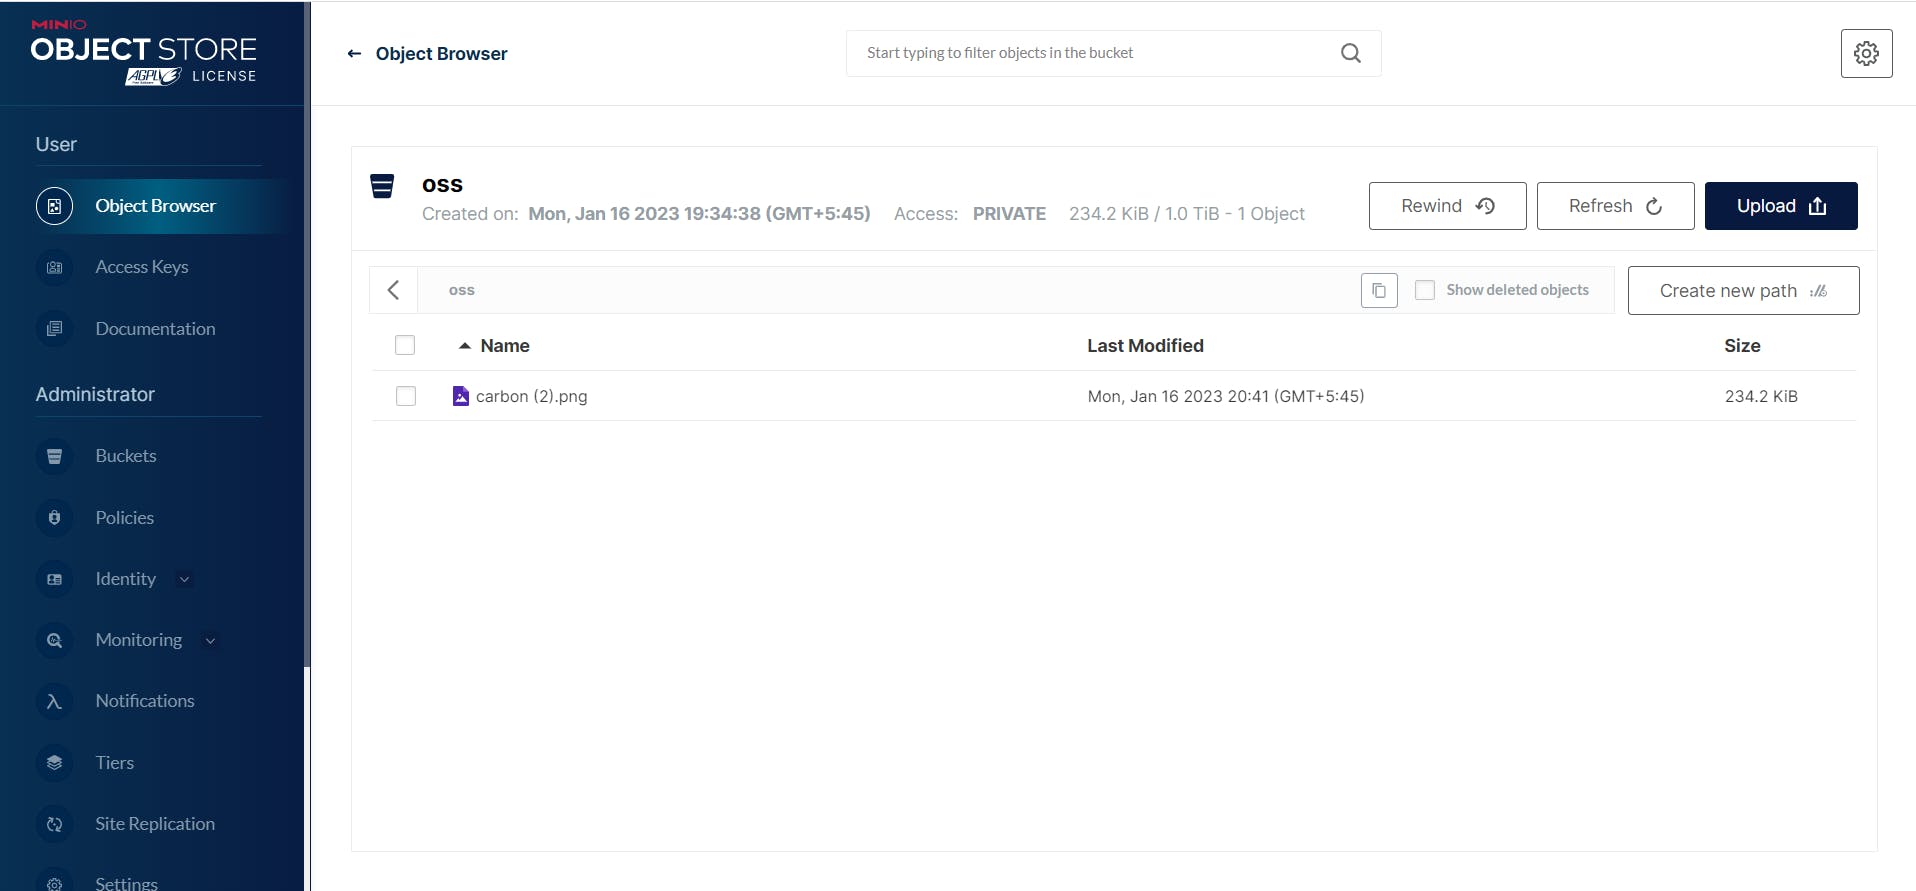
Create a new bucket from the side menu in minio dashboard. MinIO Object Storage uses buckets to organize objects. A bucket is similar to a folder or directory in a filesystem, where each bucket can hold an arbitrary number of objects. MinIO buckets provide the same functionality as AWS S3 buckets. I have created a bucket name oss as you can see in the image object.
Connecting Dotnet MVC application to MinIO server
Create a new MVC application using dotnet cli.
dotnet new mvc -n sampleapp -o src
Install minio client package for dotnet.
dotnet add package minio
Now in the index view of the home controller create a form that has file input and a button to submit.
<form asp-controller="Home" asp-action="Upload" method="post">
    <input type=file name="file"/>
    <button type="submit">Upload</button>
</form>
Now, Let's write a backend when we submit the above HTML form. Before writing the backend code you have to generate the access key and secret key from minio dashboard. Go to your minio console and find the Users page. You can create a new user and set it MINIO_ACCESS_KEY and MINIO_SECRET_KEY or can view user credentials. Note that your policy must allow for credentials reset, the default policy consoleAdmin allows for that.
public IActionResult Upload(IFormFile file)
{
    var endpoint = "127.0.0.1:9000";
    var accessKey = "XXXXXXXXXXX";
    var secretKey = "xxxxxxxxxxxxxxxxxxxxxxxxxxxxx";
    var minio = new MinioClient()
                .WithEndPoint(endpoint)
                .WithCredentials(accessKey, secretKey)
                .Build();
    Uploader.Run(minio, file).Wait();
    return View("Index");
}

public async static Task Run(MinioClient minio, IFormFile file)
{
    var bucketName = "oss";
    var objectName = file.FileName;
    var contentType = file.ContentType:
    try
    {
        var beArgs = new BucketExistArgs().WithBucket(bucketName);
        bool found = await minio.BucketExistAsync(beArgs).Configure(false);
        if(!found)
        {
            var mbArgs = new MakeBucketArgs().WithBucket(bucketName);
            await minio.MakeBucketAsync(mbArgs).ConfigureAwait(false);
        }
        using(var fileStream = new MemoryStream())
        {
            file.CopyTo(fileStream);
            var fileBytes = fileStream.ToArray();
            var putObjectArgs = new PutObjectArgs()
                            .WithBucket(bucketName)
                            .WithObject(objectName)
                            .WithStreamData(new                     MemoryStream(fileBytes))
                            .WithObjectSize(fileStream.Length)
                        .WithContentType("application/octet-stream");
            await minio.PutObjectAsync(putObjectArgs).ConfigureAwait(false);
        }
    }
    catch(Exception ex)
    {
        Console.WriteLine(ex.Message);
    }
}
Now, run the MVC application and try to upload the file. It will be uploaded to the bucket in mino.
Thank you! Happy Coding :)